


When eCommerce businesses want to offer credit to customers, they use credit notes. Store owners can use credit notes as a document of sales return. This makes them a good option when an invoice is sent mistakenly, or when one hasn’t been paid.
A credit note can be a useful tool for many eCommerce businesses. But many platforms, including WooCommerce, one of the largest eCommerce platforms, don’t have built-in credit note functionality. While a credit note can be added to an invoice template, integrating credit notes into your business’s regular payment processes can be complicated.
Fortunately, there is a relatively simple solution to this issue. This article will describe the step-by-step process of integrating credit notes into a WooCommerce store, and printing them for customers.
We will show you how to use BizPrint, a complete printing solution for WooCommerce stores. BizPrint allows you to create and automatically print invoices, receipts, packing slips, and more whenever you receive a new order through your WooCommerce store. Among its many features, BizPrint makes it easy to print credit notes for customers.
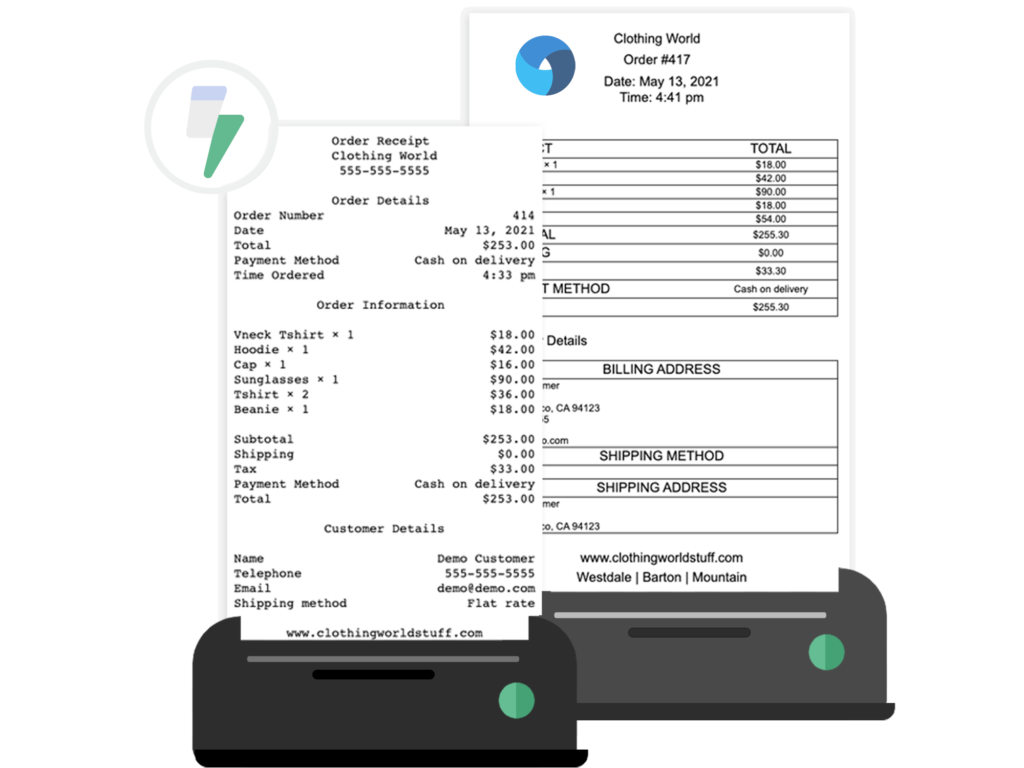
Print WooCommerce Order Receipts, Invoices & Labels
Automatically print from WooCommerce straight to your printer.
What are credit notes used for, and how are they useful for WooCommerce stores?
Credit notes serve as proof of credit (or store credits) issued to customers. These store credits are redeemable in the stores that issue them, enabling customers to make purchases without having to spend additional money.
Credit notes can be issued as an alternative to a refund or replacement. Customers simply take the credit note and use it for whatever purchases they would like to make.
A credit note can be used to reduce the balance of an outstanding invoice. Or, it can be applied against future purchases in your store. This makes them an important backup solution for store owners.
Some situations where credit notes are useful include:
- When a customer has successfully ordered an out-of-stock item and their order status is complete
- A customer received an invoice for a higher amount than agreed upon by mistake
- You want to compensate a customer when they are unhappy with their purchase
- If you offer subscriptions and want to compensate a subscriber whose plan has been downgraded before the next subscription cycle began and the customer invoice was sent
In all of the above cases, a credit note is a quick solution that can meet the customer’s needs. For example, in the case where a customer successfully purchases an out-of-stock item, you can offset the invoice with credits, and avoid issuing a negative purchase invoice.
How do I create a credit note in WooCommerce?
BizPrint comes with a variety of customizable templates for credit notes, receipts, and more, with new templates being added all the time. You don’t need any experience with HTML, CSS, PHP or other coding languages to get started with BizPrint’s built-in templates. You can also set up custom credit notes with prefix/suffix/number series on the “credit note number” page in the plugin.
Let’s go over how you can generate a credit in WooCommerce and then use BizPrint to create a credit note.
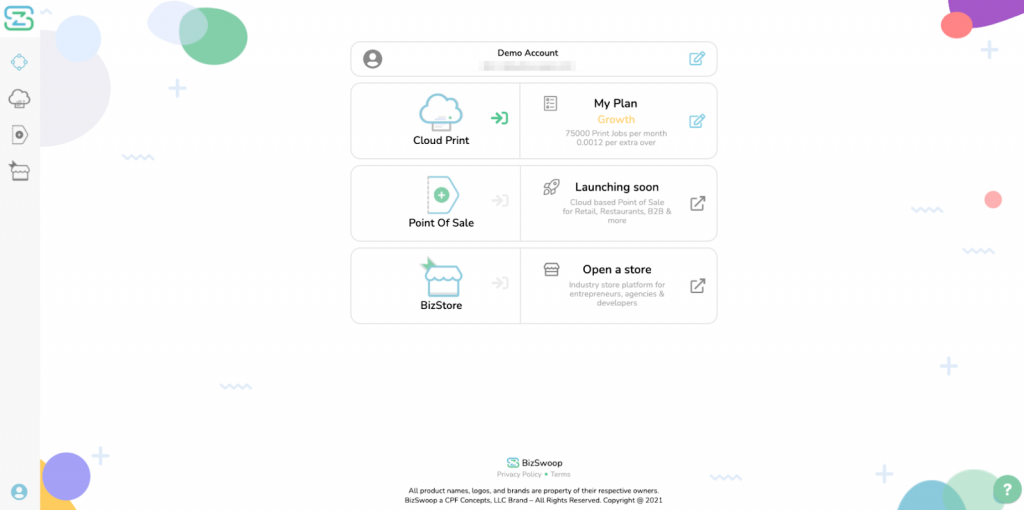
The first step is to sign up for a BizPrint account. Right after you sign up for BizPrint, you will receive an activation email. Open that email and click the link to activate your new account and log in.
You will then be directed to the BizPrint Dashboard. Here, you can see all the information about your printing, including individual prints and all connected printers.
The next step is to set up your printer station.
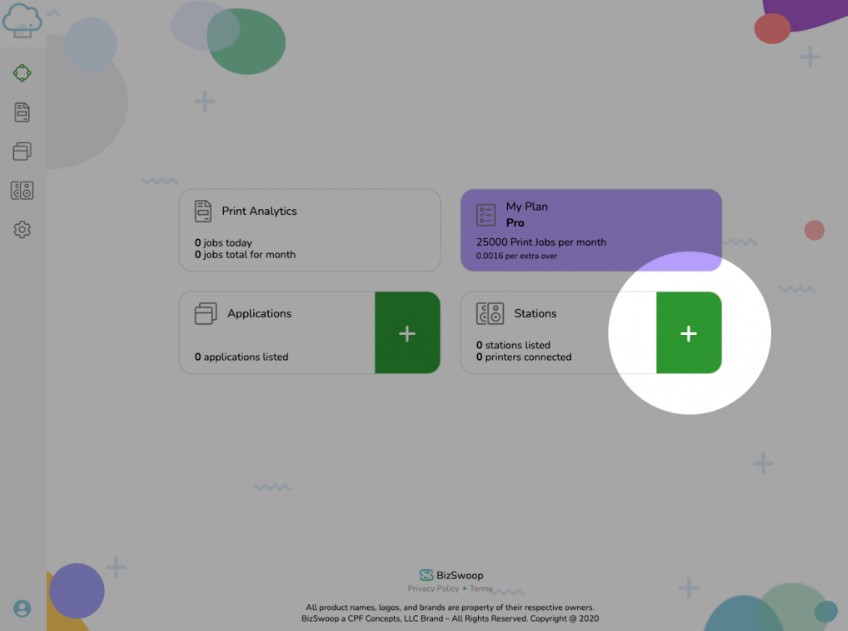
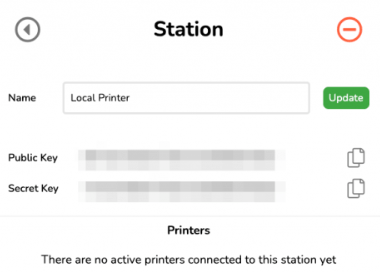
Once you click the above button to add a station, you’ll be prompted to name the station:
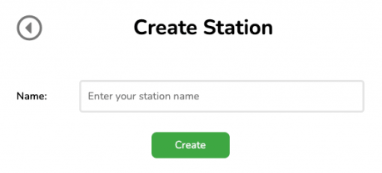
When you create a station, you will receive a public key and a secret key. Make sure you copy and store your keys somewhere safe.
At this point, you need to download and then install the BizPrint app for the device you are using. You can download the app on Windows, macOS, Linux OS X32 and Linux OS X64.

Once downloaded, BizPrint can be installed, and once that’s complete, just click “Connect” to launch the app:
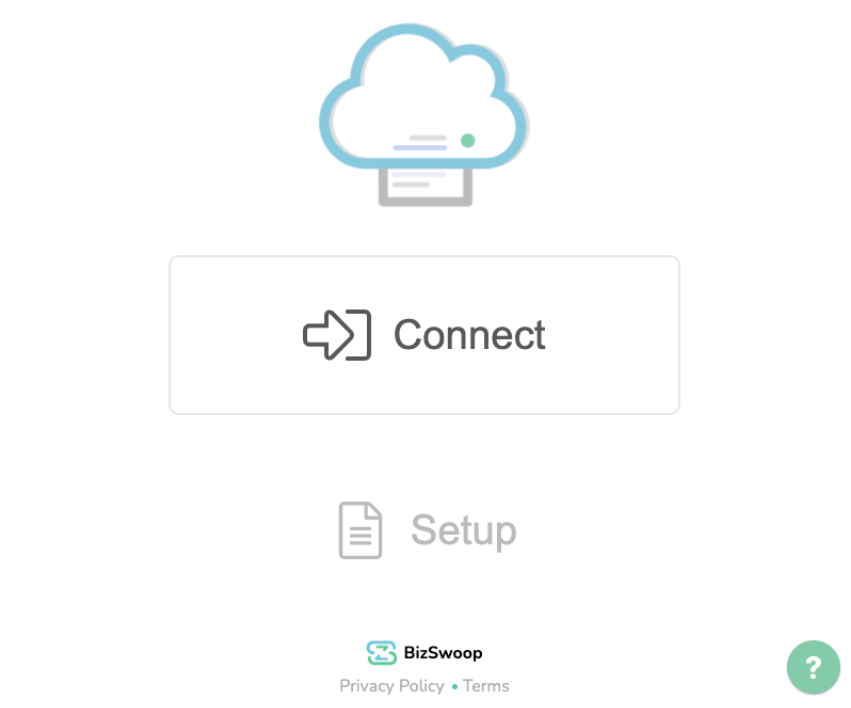
When you click “Connect,” you will need your keys for the next step. These are the keys you received when you created a new station, as discussed above. You will be prompted to enter them here:
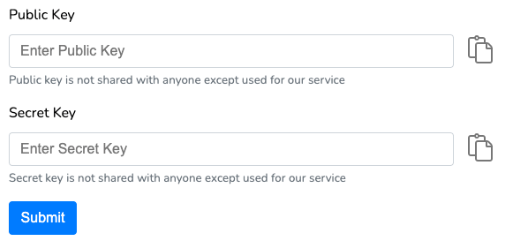
After you click submit, you should see this page (with the “Successfully Connected” popup):
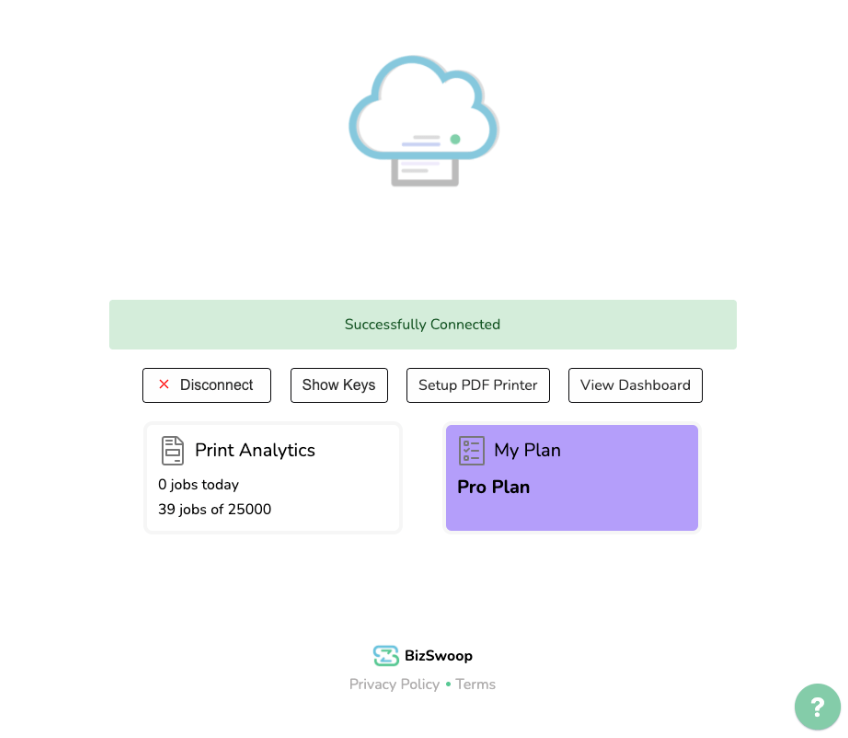
You are now connected and ready to use BizPrint’s services. Your local printers are registered with BizPrint, and you can view all connected printers on the cloud. So, the remaining step is to connect this all to your website. Or, BizPrint enables you to select a PDF directory using the BizPrint Cloud app so you can view PDF invoices through your computer’s directory, Google Drive, or Dropbox folder.
You can connect the app to your WooCommerce website via the Print Manager Plugin, which sends print jobs from WordPress, the leading CMS (which WooCommerce runs on), to BizPrint, which handles the printing service. Of course, your computer must remain connected to the internet and to your local printer to receive the jobs.
Connect your WooCommerce website to the Print Manager Plugin
First, you click the “Applications” button on the dashboard. Once you click, you will be directed to create a name for your site and enter its URL:
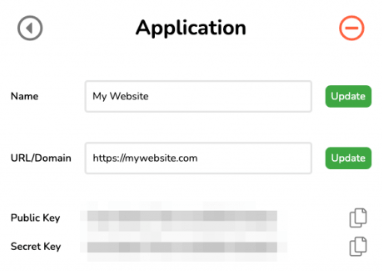
Again, you will need to copy both of your keys and store them somewhere safe. After that, you need to download the Print Manager for WooCommerce plugin. You can download the ZIP file for the WordPress plugin directly, or the plugin can be found listed on the WordPress plugin repository.
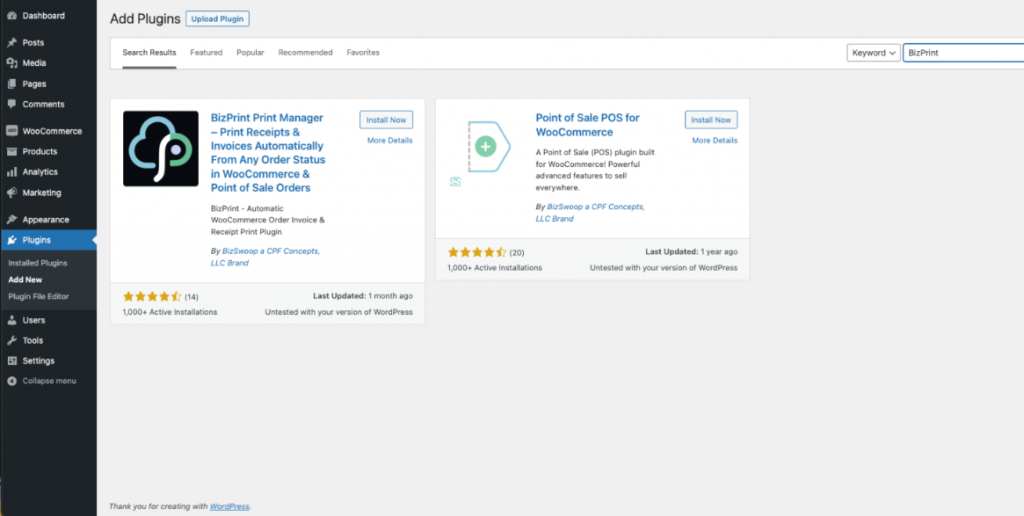
To finish the installation, you will need your keys. First, select “Install Now” to complete the installation. Once you’re done, click “Activate” to complete the process.
Now, copy and paste your keys into the WordPress plugin, which appears as such:
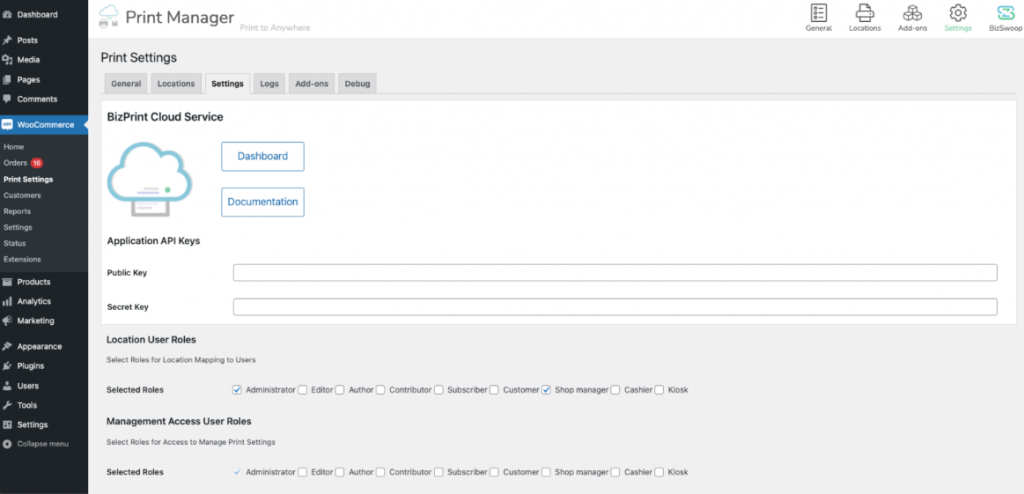
Your website is now connected to BizPrint and what’s left is to complete the process by connecting your locations and printers.
With the plugin downloaded, you need to add your locations and printers. This step completes the connection so that prints for WooCommerce orders can travel from your WooCommerce store to the printer of your choice. After that, you will be able to set up credit notes.
In your store’s backend, go to WooCommerce > Print Settings > Locations. Then click “Add new”:
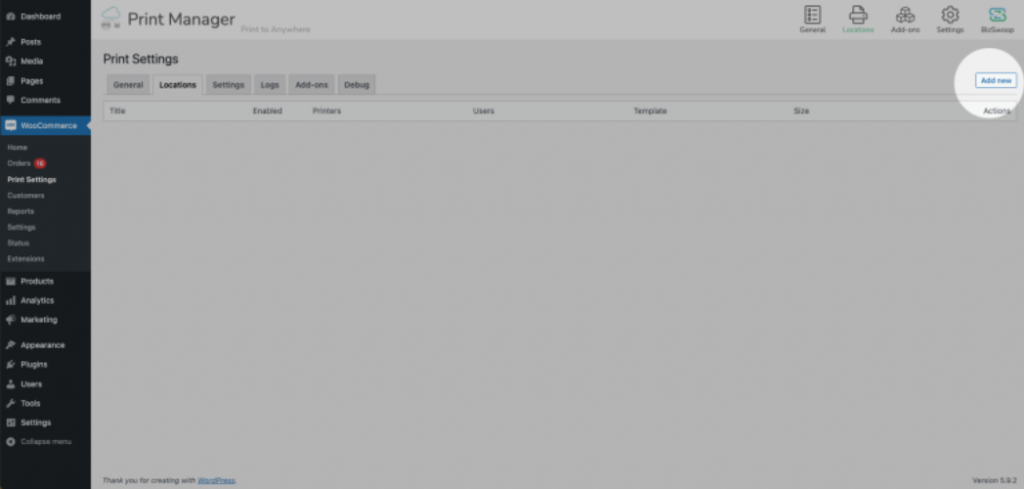
On the next page, you will need to select the printer’s location under the “printers” section. On the same page, you can use the customization options.
Make sure you choose an appropriate location title that you and your colleagues will understand. Since the location will be meant for credit notes, you can name it something that makes that clear.
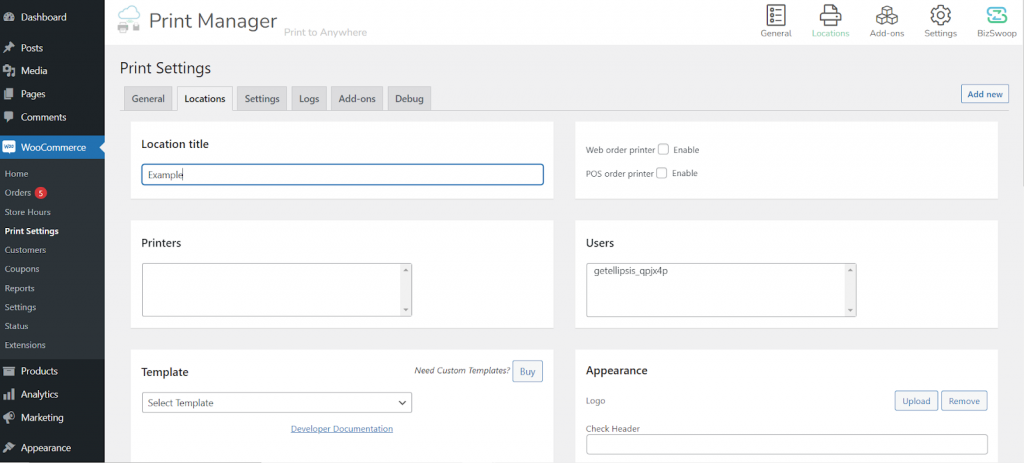
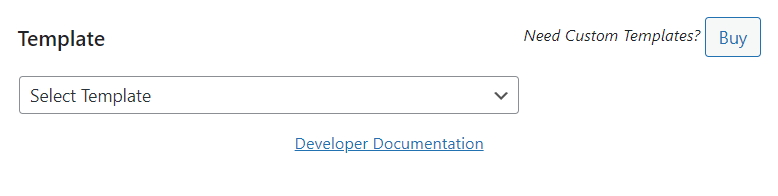
Importantly, in the template drop-down box, choose the “Credit Note” template. This ensures the print location will have the required fields for credit notes.
You will also see other templates, such as Customer Receipts and Order Receipts, which also appear on the order page. You can customize the Credit Note and other templates to your liking. Once you select the template, you will see a list of checkboxes below the drop-down menu, allowing you to include or omit the specified information. For example, you can include order details such as order cost, shipping cost and method, and customer information. If you need to add custom fields to your template, BizPrint can also produce custom templates as an addon to your pricing plan.
Lastly, in the appearance panel on the same page, you can give inputs specifically for your credit notes. These can include important details such as invoice number or order number, billing details, and your business address. Terms and conditions are another important aspect you shouldn’t overlook.
How to print a credit note with BizPrint
Once all of the above is complete, and you have a credit note print location, you can set up credit note printing.
Navigate to WooCommerce > Print Settings > General.
Here, you can specify if you want your credit notes to be automatically printed, and if so, at what stage of the order fulfillment process they should be printed. In the case of credit notes, you will only want automatic printing to occur if the order reaches the ‘refunded’ stage. Go to WooCommerce > Print Settings > General and refer to the “Orders Automatic Print Statuses”. It appears like this:
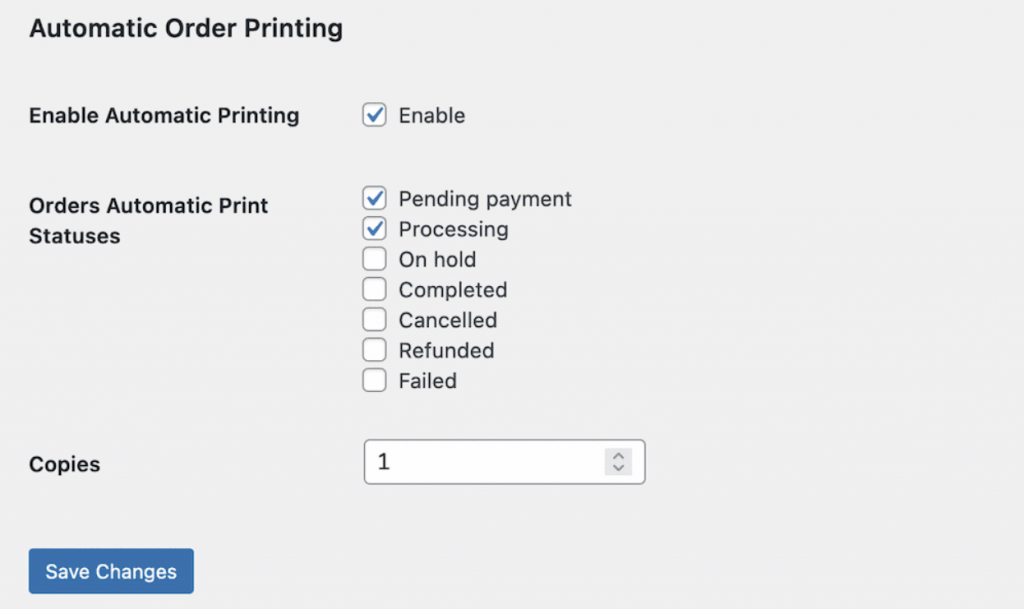
This allows you to set up your printer to automatically generate and print a credit note every time a refund is processed.
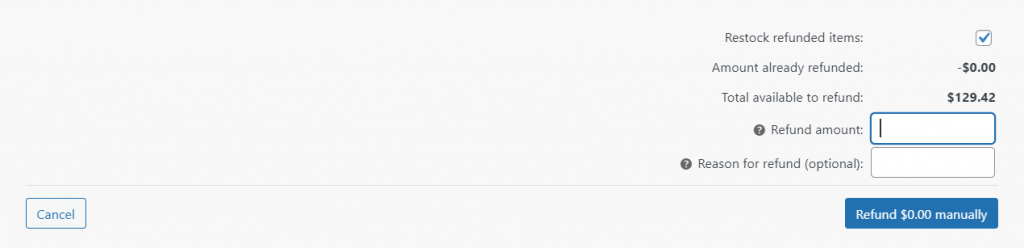
You can process a refund by navigating to the “Orders” section of your WooCommerce store.
In the order summary of the order in question, you can set the refund amount that your credit note will be processed for. Then, click “Refund $xx.xx manually” to complete the job.
Once you’ve completed these steps, you can either manually print the credit note, or, if you have set up BizPrint to automatically print a credit note for all ‘refunded’ orders, this will be done automatically for you every time a refund is processed. Refunded orders are displayed within the Print Manager plugin and can be printed manually with the print button.
You can also attach a credit note to a refund email. To do this, just save the credit note as a PDF file and send it back as a response to the order email. You can do this automatically as well by selecting the PDF directory locally on the BizPrint Cloud app, which you will first need to install. Then, click “Set Up PDF Printer” and select the directory. From here, you can see all PDF invoices on your computer directory, Google Drive, or Dropbox folder.
All that’s left is in-store credit note printing if you have a brick-and-mortar location.
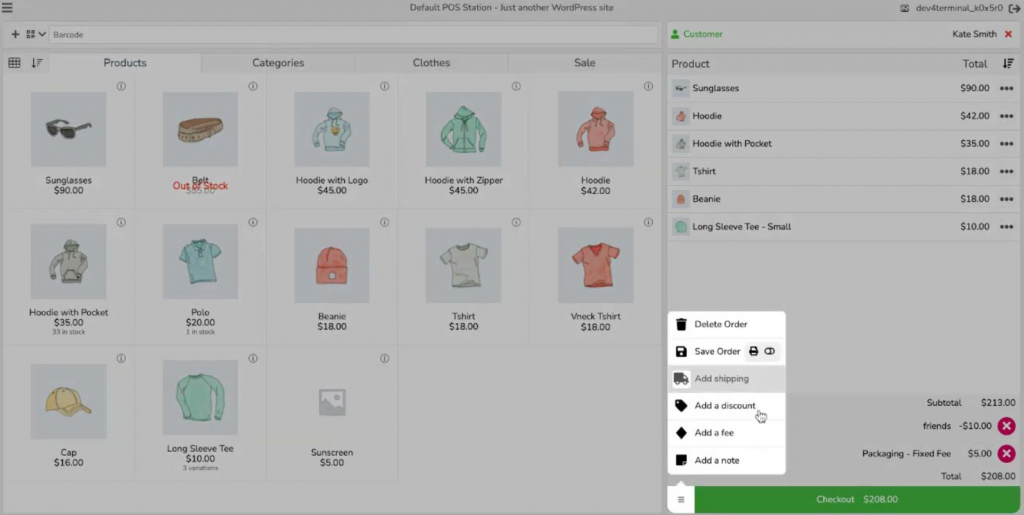
Printing credit notes in-store with Jovvie POS
BizPrint also integrates seamlessly with Jovvie POS. This integration adds enormous functionality for WooCommerce store owners with brick-and-mortar locations, or who want to sell on the go.
Jovvie POS is a complete point of sale system for WooCommerce users. It enables store owners to accept and process payments and manage inventory through all major browsers, or through the mobile app (available for Android and iOS). Your WooCommerce inventory will be automatically synchronized between your physical and online stores, ensuring you always have a clear picture of stock levels and can make informed purchasing decisions. You can easily monitor your store’s sales and inventory on the go from a smartphone or tablet.
When Jovvie POS and BizPrint are combined, you have a complete checkout solution. You can process payments through Jovvie POS and print credit notes on the go through BizPrint with the integration. All of this can be done from anywhere with an internet connection within WooCommerce!
Generating & Printing Credit Notes the Smart Way
Credit notes offer WooCommerce businesses a fast and simple alternative to offering full refunds in any case that a customer returns a product or is unhappy for any reason. For any mistake or situation that calls for a compromise, being able to easily produce credit notes is a powerful tool to have ready in your arsenal. Once you have set up the functionality to produce credit notes for your WooCommerce store, you can print these directly from your order page in just a few clicks. Or, better yet, use BizPrint to automatically print credit notes whenever a refund is processed.
BizPrint is more than just a WooCommerce plugin for printing credit notes. It handles many other printing needs besides credit notes, from receipts to proforma invoices, pick lists, shipping labels, and more. BizPrint is easy to set up and integrate into your checkout processes – it doesn’t take any technical knowledge to set up, and all configuration is done within the familiar WordPress admin area.
BizPrint comes with a variety of pricing options designed to work for businesses of any shape and size – you can scale your pricing plan based on the number of prints you require each month. And, as an added bonus, BizPrint’s integration with Jovvie POS offers a complete solution if you’re opening or already managing a physical outlet!
Print WooCommerce Order Receipts, Invoices & Labels
Automatically print from WooCommerce straight to your printer.