

Shipping labels are documents attached to packages that contain essential delivery information – from addresses and tracking numbers to package contents and handling instructions. Every WooCommerce order needs one, but creating these labels manually can slow down your fulfillment process.
BizPrint automates shipping label generation, turning a time-consuming task into an instant, hands-free process. In this guide, you’ll learn how to set up automated label printing and start streamlining your order fulfillment today.
How to Generate Shipping Labels for Your WooCommerce Orders
BizPrint is a versatile printing solution that works with any printer connected to your PC, Mac, or Linux device, including popular thermal printer models from Epson, Star, and Zebra.
With its automated printing capabilities and customizable templates, you can generate professional shipping labels as soon as orders come in. Here’s how to get started:
Part 1: Install and Configure BizPrint
1. Create a BizSwoop account.
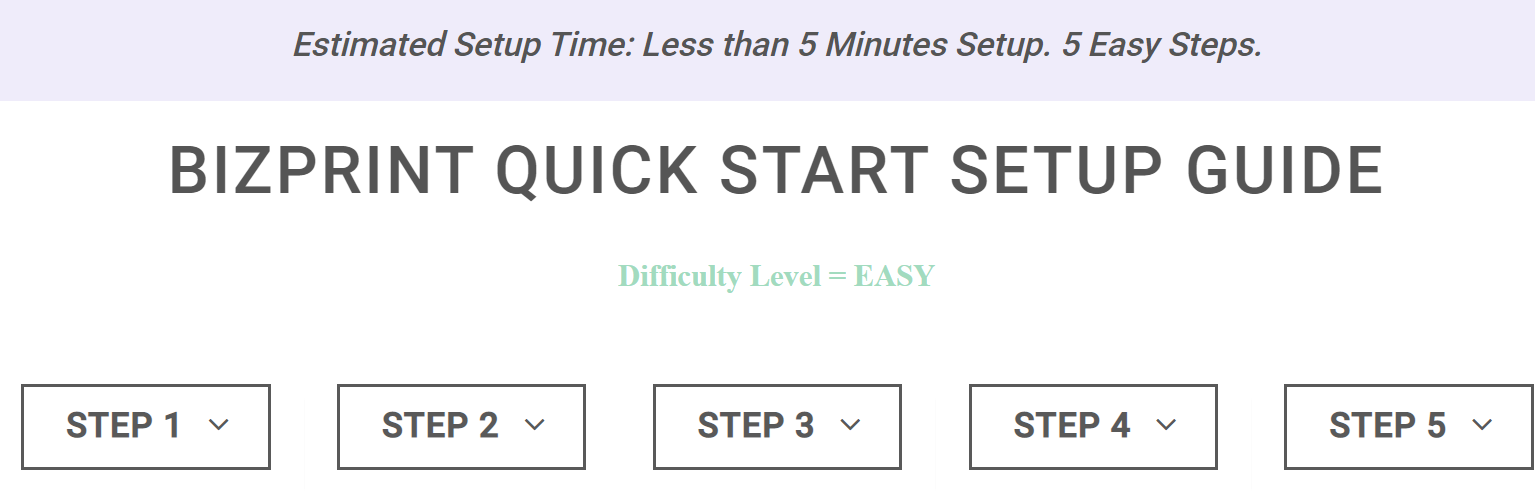
2. Install and set up the plugin using the BizPrint quick start guide. The setup will include adding your existing printers to BizPrint, and connecting BizPrint to WooCommerce.
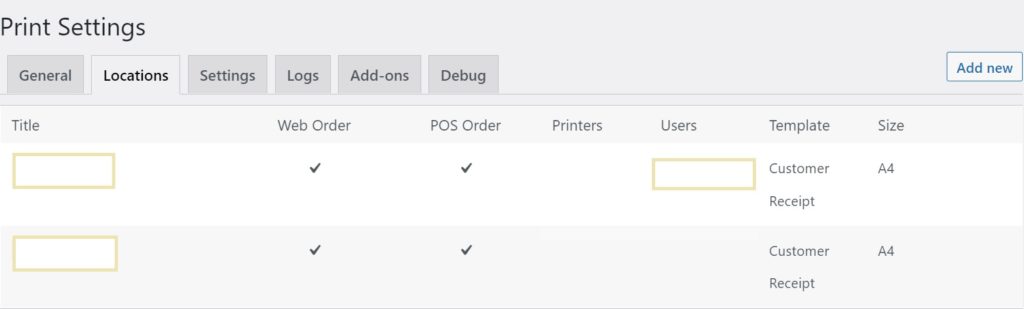
3. Go to ‘WooCommerce > Print Settings > Locations’, then click ‘Add New’
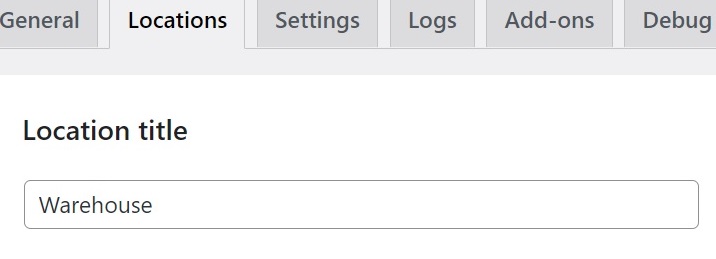
4. Add a location title to indicate the location of the printer. You could write ‘office’, ‘warehouse’’ or ‘driver copy’, for example.
5. Select the printer you want to use. You will have designated printers at the time of setting up BizPrint.
Part 2: Create a Shipping Label
As mentioned already, information like the shipping address, origin/return address, package contents, shipping option, and other details go on a shipping label. A barcode is the other element, which contains much of the same information present on the shipping label. While creating WooCommerce shipping labels, you’ll need to include both visual and scanning information.
After the barcodes for your WooCommerce shipping labels are ready, you can proceed to add them to the label template using WordPress hooks/filters. You can create shipping label templates for any shipping service you use, from major carriers to lesser-known local providers. Here are the steps to follow:
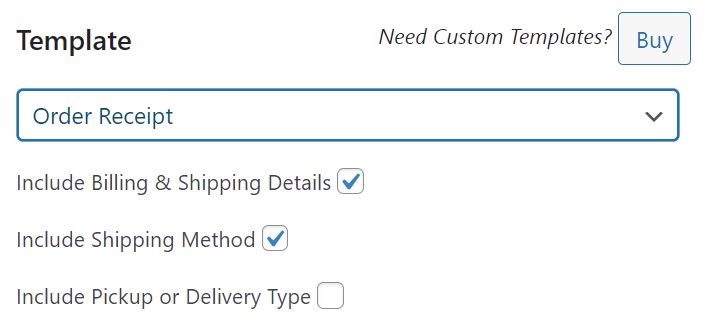
1. Choose a template, and then check the boxes applicable to your shipping label. The main ones here are ‘include billing and shipping details’ and ‘include shipping method’, but there are other options for shipping rate and order cost, should you wish to include those details on your shipping label.
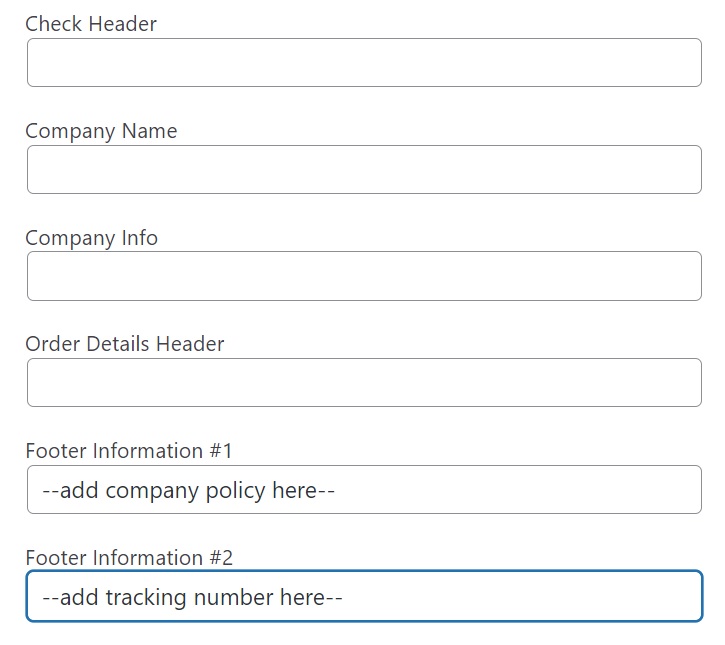
2. In the ‘appearance’ box, add any extra order details that you want to show on the shipping label. This is where you can write your company name, information, tracking number or product SKUs. There are multiple fields in which you can input information relevant to the specific product, such as mentioning that it is ‘fragile’ or ‘flammable’. This will help ensure that your package is handled appropriately and reaches the customer in the best condition. You can even add barcodes to make package tracking seamless and smooth throughout the supply chain.
3. The shipping labels you generate are completely customizable with code. Using WordPress hooks and filters, you can create custom templates for specific shipping countries, flat-rate shipping, third-party delivery or bulk shipments, for example. You could even use code to pull in shipping labels generated by third-party carriers, such as USPS, FedEx or DHL!
Part 3: Print the Shipping Label
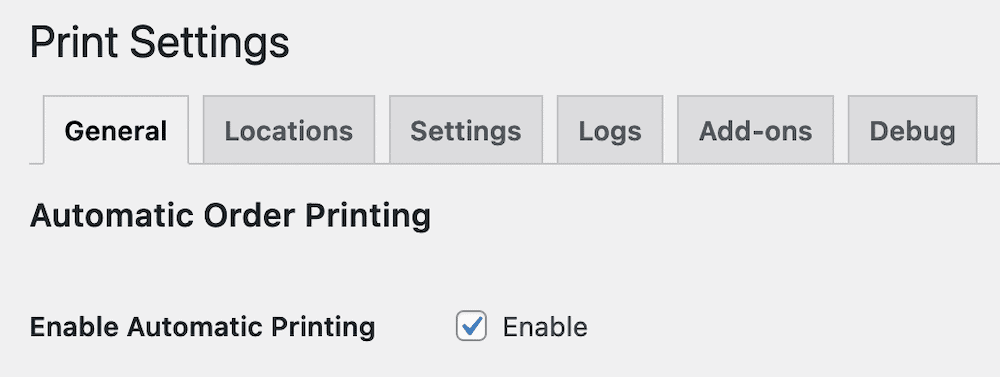
1. Go to WooCommerce > Print Settings > General
2. Click the checkbox to enable automatic order printing, or leave it unchecked to print orders manually.
3. The Product Mapping add-on (included in Pro plans and higher) allows you to print one category or type of product at a specific fulfillment location, and a different type/category at another fulfillment location.
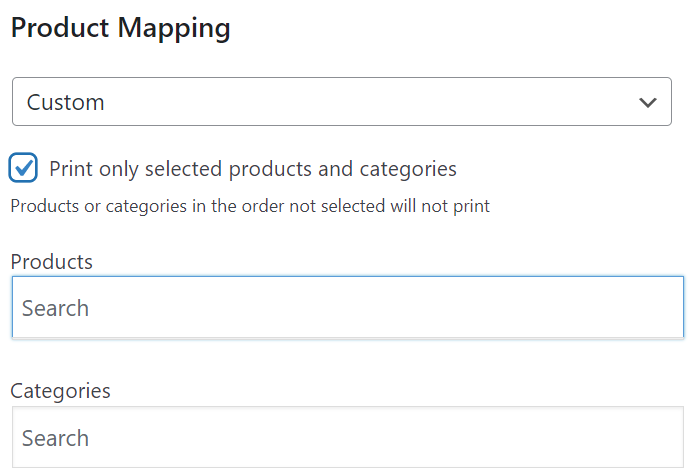
💡 Pro tip: BizPrint’s mapping add-ons let you automatically route labels to different warehouses based on product categories, shipping methods, or delivery zones. Print T-shirt labels at one location and accessories at another, or send FedEx orders to a dedicated fulfillment center.
💡 Pro tip: For multi-warehouse operations, BizPrint can automatically print labels at the fulfillment center closest to your customer, reducing shipping costs and delivery times.
Set Up Your Shipping Label System Today
Setting up automated shipping label printing is simple: install BizPrint, choose your templates, and configure your automation rules.
Stop spending hours manually creating shipping labels for your WooCommerce orders. BizPrint’s automated system works with your existing printers to generate professional shipping labels instantly. From single-store operations to multi-warehouse enterprises, you’ll save time and reduce errors with automatic label generation, smart printer mapping, and customizable templates.
Ready to transform your shipping workflow? Start your free trial with BizPrint and see the difference automation can make.
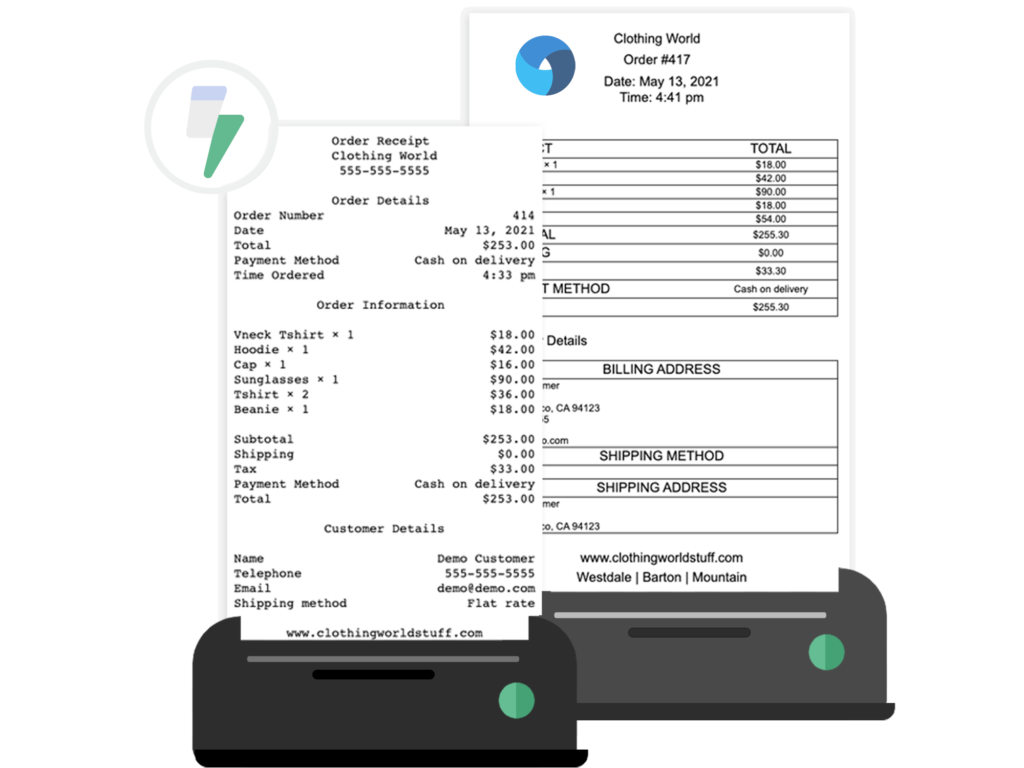
Print WooCommerce Order Receipts, Invoices & Labels
Automatically print from WooCommerce straight to your printer.