


Your WooCommerce store is getting traffic, and products are being added to carts, but sales aren’t closing. Sound familiar? The culprit might be your shipping setup.
Ecommerce customers can be pretty unforgiving when it comes to shipping-related frustrations. Fast shipping, shipment tracking, and free return shipping all rank high on the list of delivery preferences.
This comprehensive guide will walk you through:
- Setting up and enabling shipping addresses.
- Customizing address fields for your specific needs.
- Troubleshooting common display issues.
- Streamlining order fulfillment with BizPrint’s automation.
Whether you’re just starting with WooCommerce or looking to optimize your existing setup, this guide has everything you need to create a smooth, professional checkout experience.
How to enable WooCommerce shipping address
A properly configured shipping system does more than just deliver packages – it builds trust, reduces support tickets, and turns first-time buyers into repeat customers.
Luckily, WooCommerce includes powerful shipping features right out of the box. Let’s set them up properly to give your customers the smooth, professional checkout experience they expect.
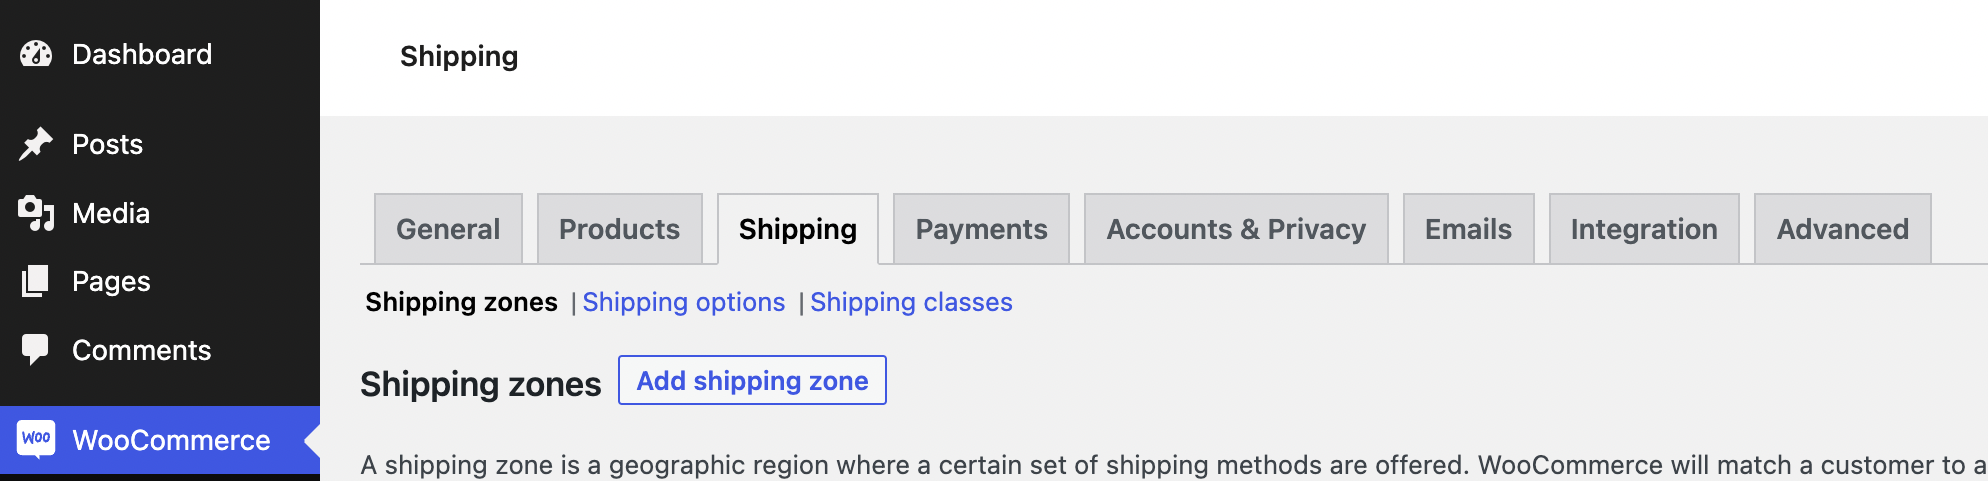
Step 1: Access shipping settings
Navigate to your WordPress dashboard and find WooCommerce > Settings > Shipping. This is your command center for all shipping configurations.
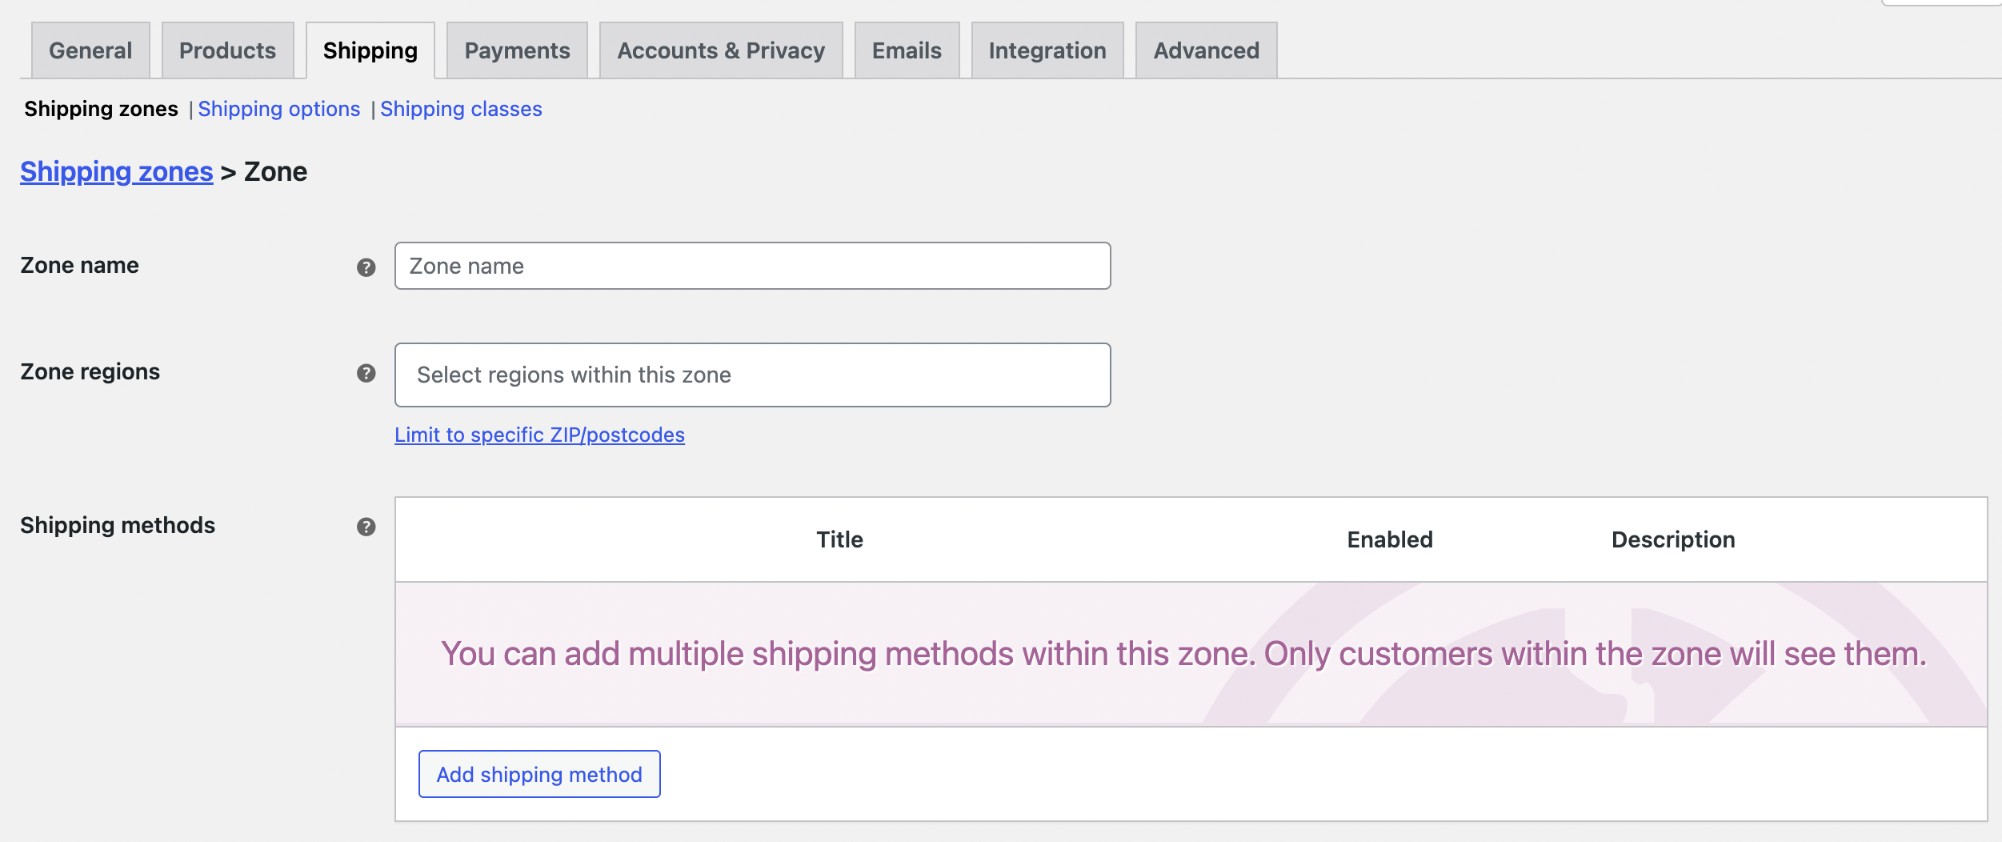
Step 2: Configure shipping zones
- Click ‘Add shipping zone’.
- Enter your zone name.
- Define your zone region based on customer location.
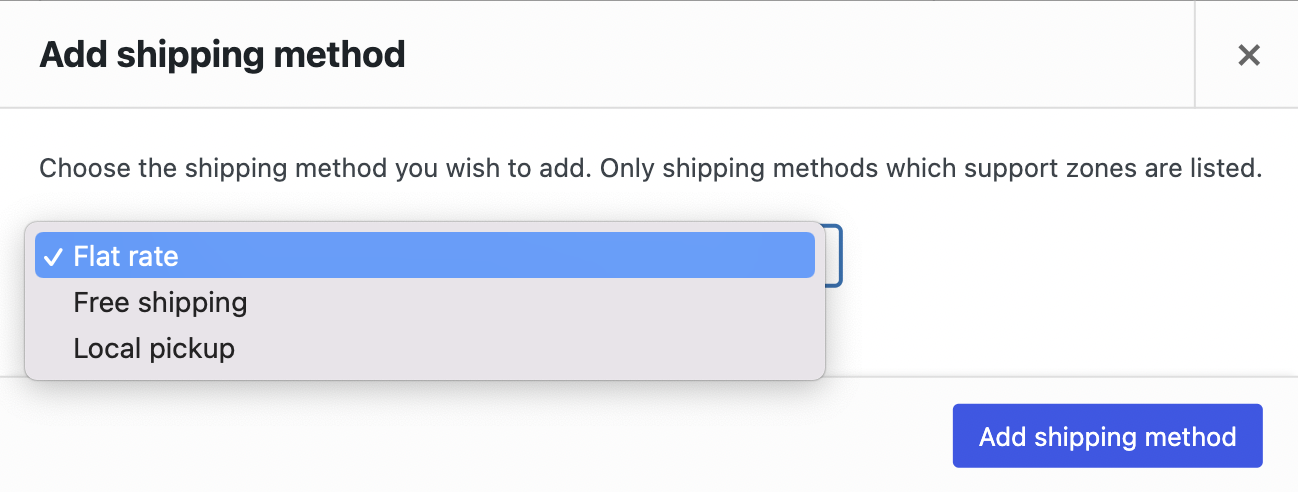
Step 3: Set up shipping methods
- Click ‘Add shipping method’.
- Choose your preferred options:
- Flat rate shipping.
- Free shipping.
- Local pickup.
- Add multiple methods if needed.
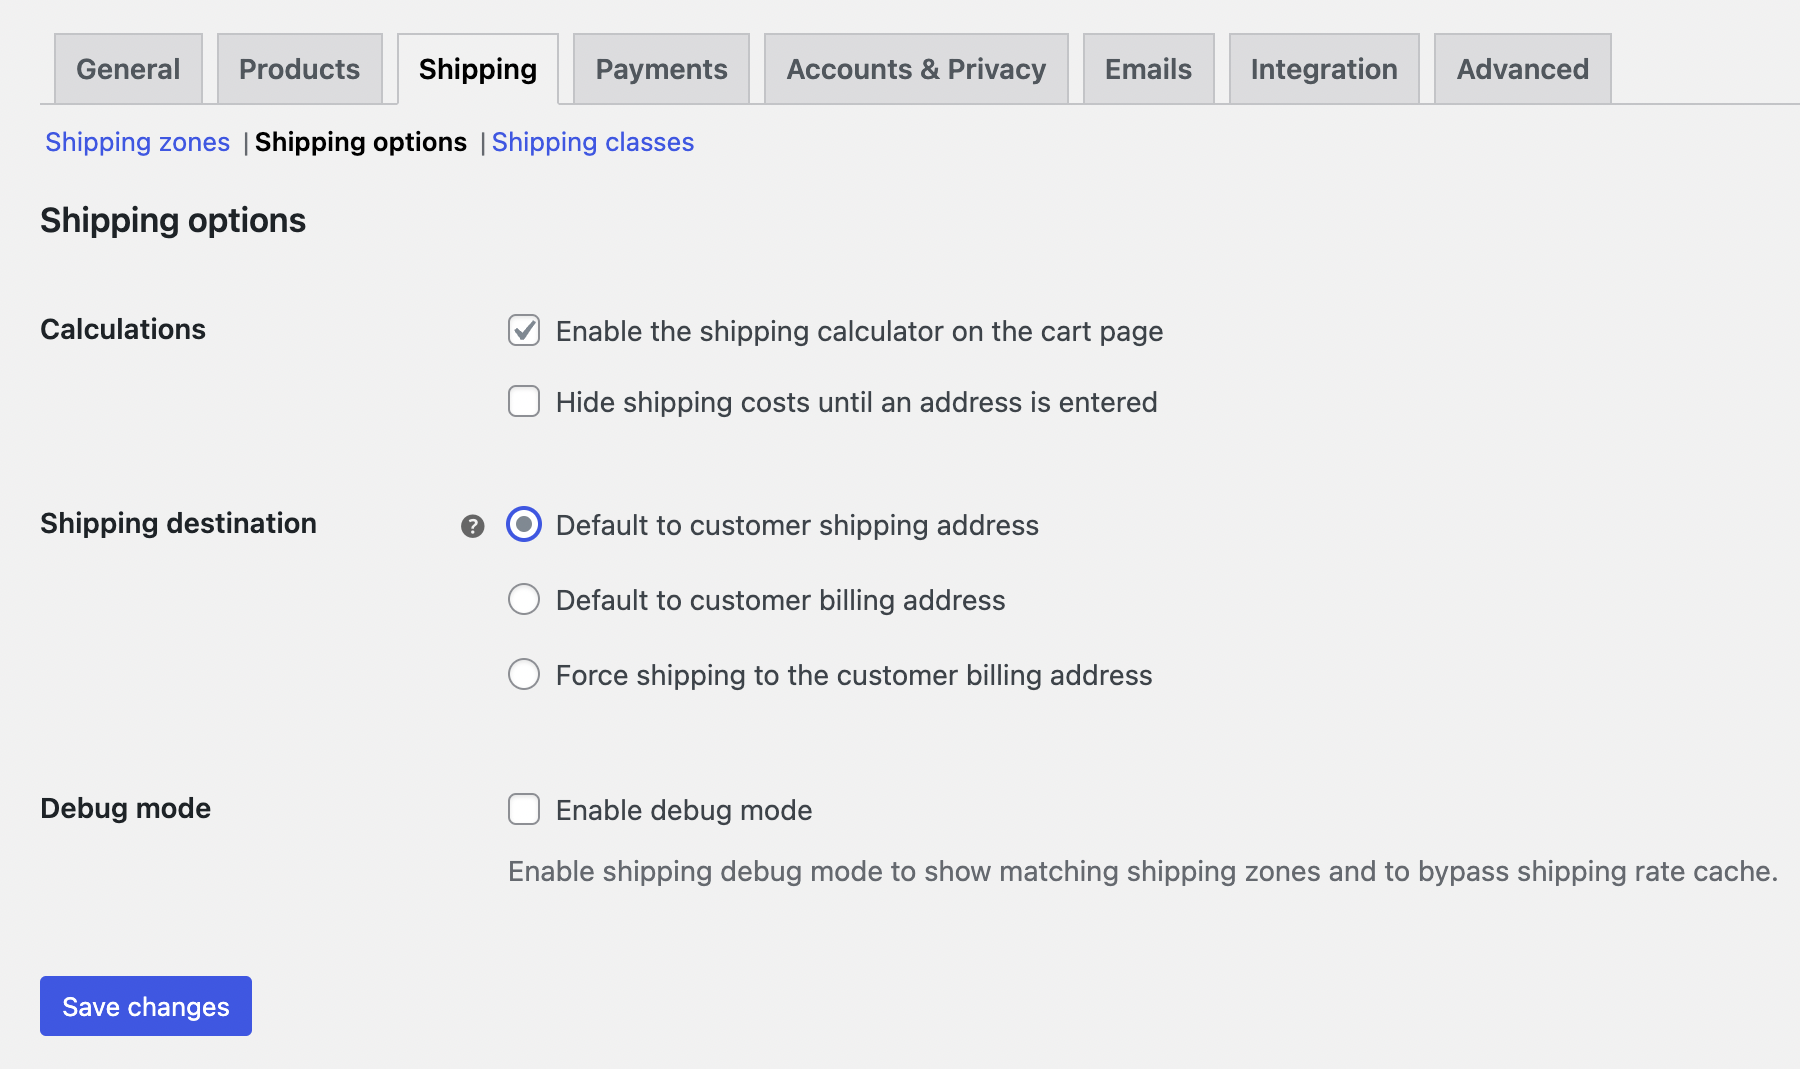
Step 4: Customize address display
- Save your changes.
- Return to the shipping tab.
- Verify your new shipping options are visible.
Why do you need a proper shipping address setup?
A well-configured shipping system is a crucial part of your store’s success. With proper setup, you’ll prevent cart abandonment by giving customers the flexibility they need. They can ship gifts directly to friends, receive packages at work, or choose between fast and budget-friendly delivery options.
🤓Remember: WooCommerce assumes billing and shipping addresses are identical by default. In reality, customers need options. When your shipping system works smoothly, it becomes invisible—letting customers focus on your products, not your process.
Fix shipping address not showing in WooCommerce
Is your shipping address field missing from checkout? Here are the most common issues and their solutions:
- Missing shipping zones: Set up at least one shipping zone and method in WooCommerce > Settings > Shipping.
- Virtual product settings: Double-check your product settings—the “Virtual” box might be accidentally checked, hiding shipping options.
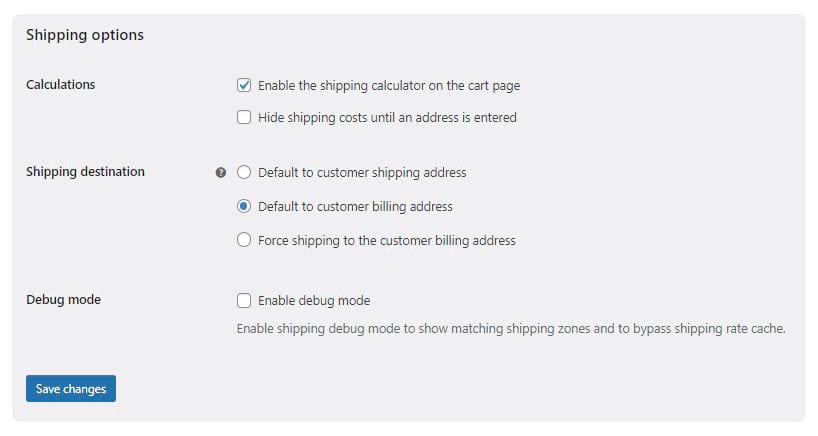
- Default address configuration: Ensure shipping destination is set to “Default to customer shipping address” in your shipping options.
- Theme conflicts: Try switching to a default WordPress theme temporarily to identify if your theme is causing the issue.
- Plugin interference: Deactivate plugins one by one to find any conflicts.
- Regional restrictions: Verify that shipping is enabled for your customer’s location.
Most issues can be resolved in minutes once you identify the cause. If you’re still having trouble after checking these points, the problem might be in your theme’s code or a plugin conflict.
How to customize WooCommerce shipping address fields
After basic setup, you can fine-tune your shipping options in WooCommerce > Settings > Shipping:
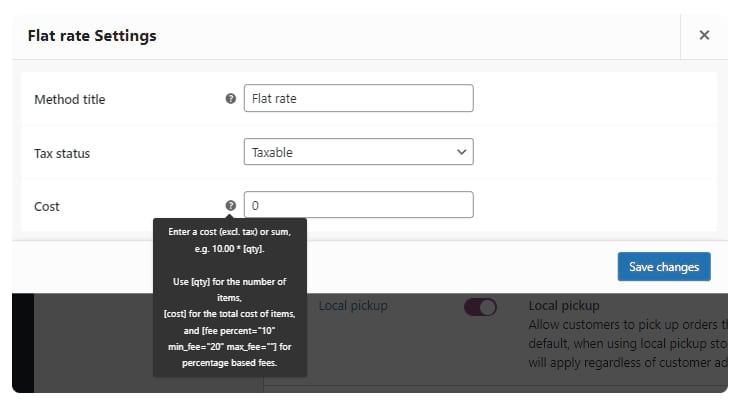
1. Set up pricing rules
Go to Shipping Methods > Flat Rate and:
-
- Enter a base cost (e.g., $5 per order).
- Add percentage costs (e.g., 10% of cart total).
- Create minimum order rules for free shipping.
- Set costs per item (e.g., $0.50 per product).
2. Create shipping classes
Under Shipping Classes tab:
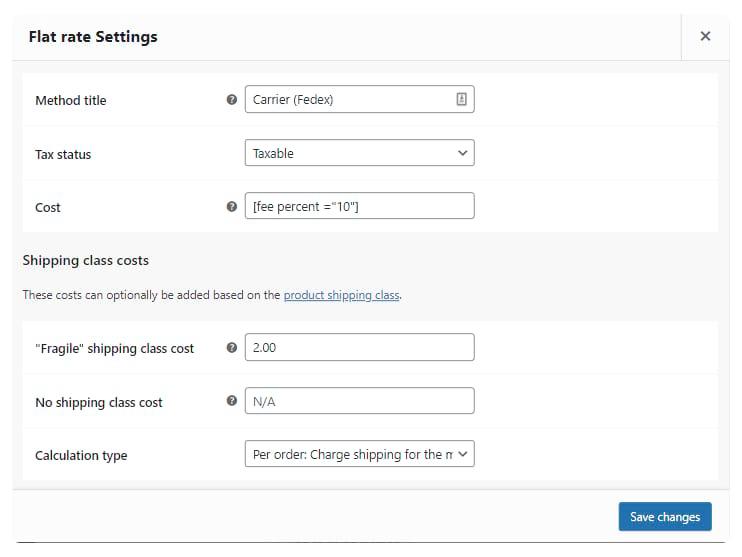
- Add a new class (e.g., “Fragile”).
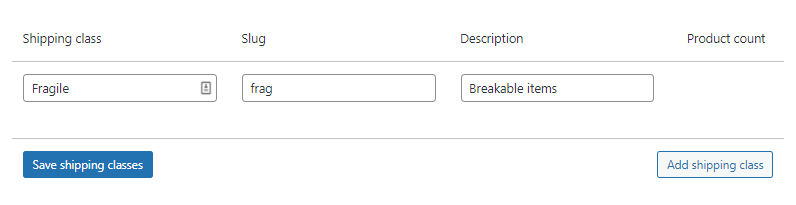
- Set additional fees (e.g., $2 handling fee).
- Apply class rules to specific products.
- Configure class-specific delivery options.
3. Customize checkout display
In Shipping Options:
- Choose when to calculate shipping.
- Select which address fields are required.
- Set default shipping locations.
- Enable/disable shipping calculators.
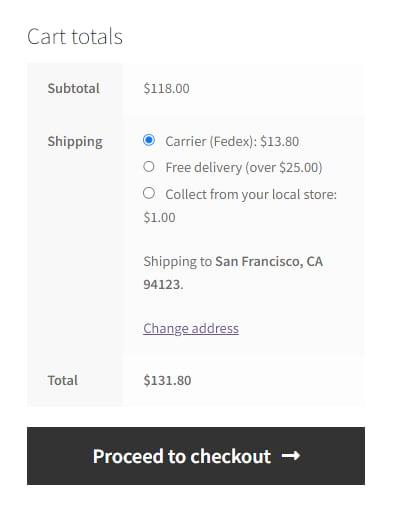
☝️Pro tip: Always test your changes. Example: A $118 order with 10% shipping ($11.80) plus a $2 fragile fee should total $131.80.
Streamline order fulfillment with BizPrint
Once you’ve got your basic shipping configuration set up, you’ll likely find yourself spending significant time on manual tasks like printing shipping labels, generating packing slips, and routing orders to the right fulfillment location. This is where automation can make all the difference.
BizPrint is an automated printing solution that integrates with WooCommerce to streamline order fulfillment. Instead of manually processing each order’s documentation, BizPrint automatically:
-
Prints shipping labels, address labels and packing slips as orders come in.
-
Routes orders to the correct warehouse based on product type or shipping zone.
-
Generates pick lists for warehouse staff.
-
Creates professional delivery notes and receipts.
This automation saves hours of manual work and reduces errors in the fulfillment process. For example, if you’re shipping from multiple locations, BizPrint can automatically send shipping labels to the warehouse closest to the customer, cutting down on shipping costs and delivery times.
Once you’ve optimized your shipping setup, automate your fulfillment process with BizPrint. Here’s how:
- Set up auto-printing
Configure BizPrint to automatically print:- Shipping labels as orders come in.
- Packing slips with order details.
- Pick lists for warehouse staff.
- Delivery notes and receipts.
- Map orders to locations
Use BizPrint’s mapping features to:- Route orders to specific warehouses.
- Print documents based on product categories.
- Send shipping labels to relevant fulfillment centers.
- Match orders to closest shipping locations.
- Customize shipping documents
Personalize your templates with:-
- Company branding.
- Tracking information and barcodes.
- Return policies.
- Special handling instructions.
-
Ready to try it yourself? Start with 50 free prints and scale as your business grows. BizPrint’s flexible pricing adapts to your needs, whether you’re handling dozens or thousands of orders.
Try BizPrint – Get Free Prints Now
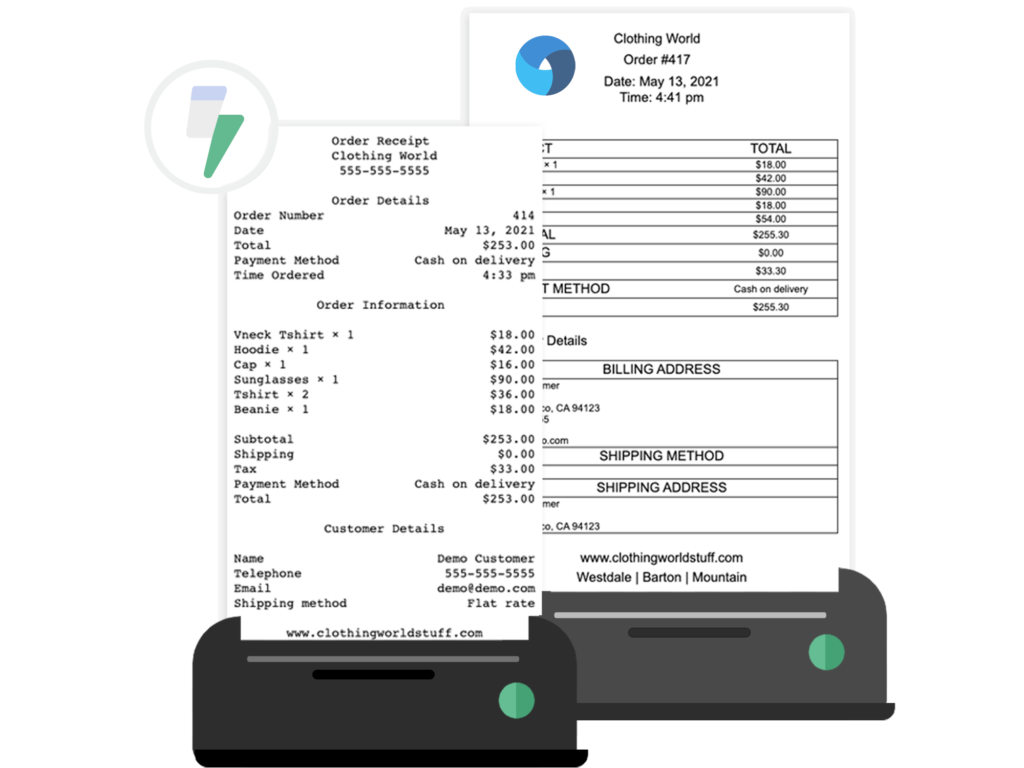
Print WooCommerce Order Receipts, Invoices & Labels
Automatically print from WooCommerce straight to your printer.