Connect with & start printing orders instantly!
STEP 1: Create Free Account
To access BizPrint, you will need a free cloud account. This account gives you access to BizPrint & other software developed by BizSwoop.
Sign-up for Account NowAfter registering, an activation email will be sent to the registered email address.
Clicking on the link activates the account. After account activation, login to account.
*Remember to check Spam folder for activation email from no-reply@login.bizswoop.app
Welcome To The BizPrint Dashboard
*BizSwoop Account Sign-in Required
BizPrint dashboard provides information about your printing behavior, number of print jobs, connected printers and connected websites.
STEP 2: Setup Printer Station
On the BizPrint Dashboard, Click + for setting up print stations
Create a Station Name
After Station is Created, Copy Public and Secret Keys
STEP 3: Download and Install BizPrint Local App On Your Computer
Learn about Hardware Requirements
The BizPrint App is used to send the print jobs from your website to your computer which is connected to your printer. After installing the BizPrint App, your local printers will automatically connect and appear ready to print in your BizPrint Cloud Account.
x32 bit & x64 bit support
Intel & Silicon Mac support
(OPTIONAL) STEP 3 Alternative: I don't want to use my own computer to connect to BizPrint
Don’t want to use your own computer?
Is your business mobile based with iPads, Tablets & Phones?
BizPrint Hub Hardware supports all printers and acts as your dedicated bridge to connect to BizPrint cloud service. LEARN MORE
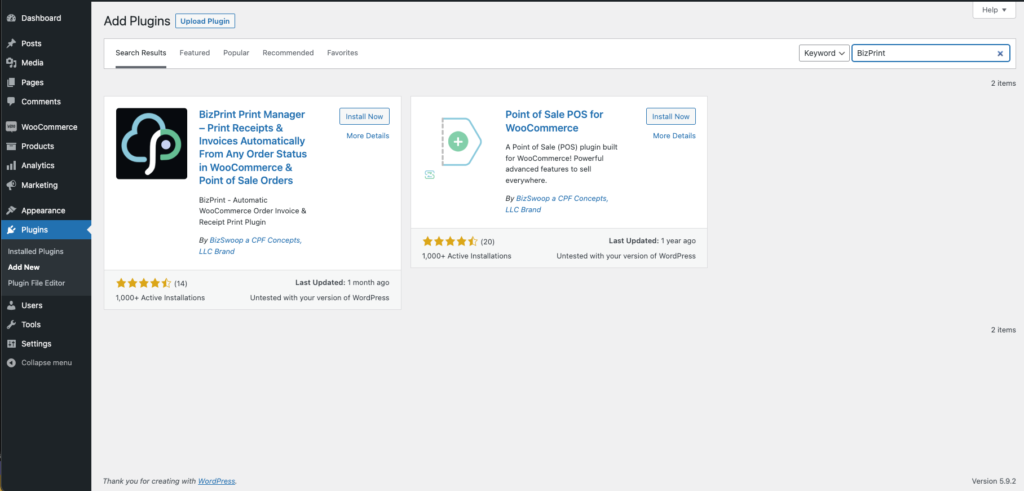
Install BizPrint Application, Launch App
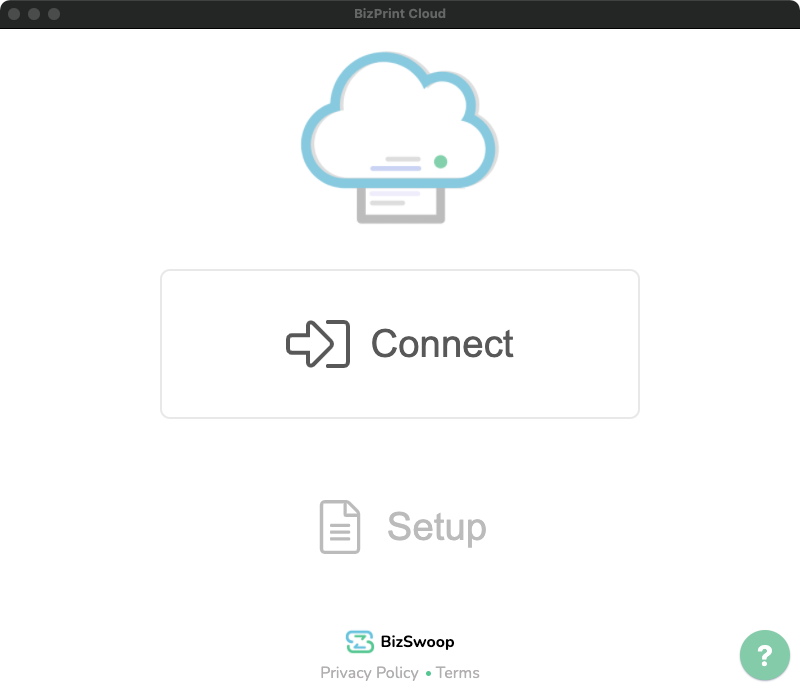
Click Connect on the App
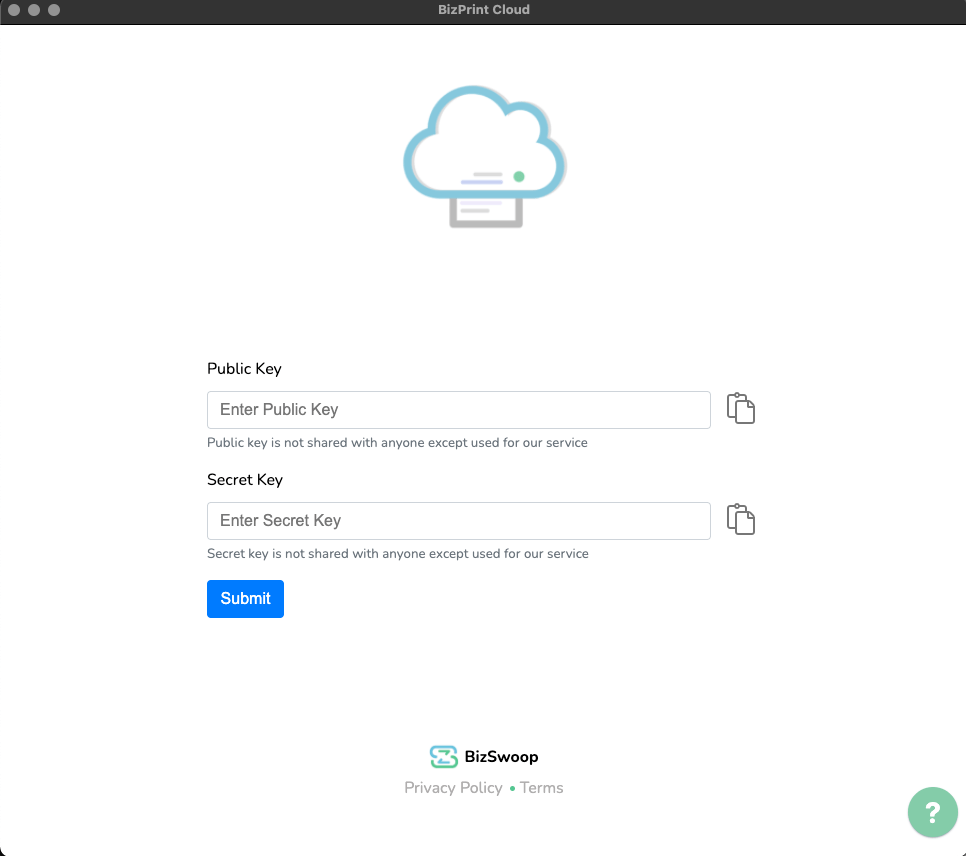
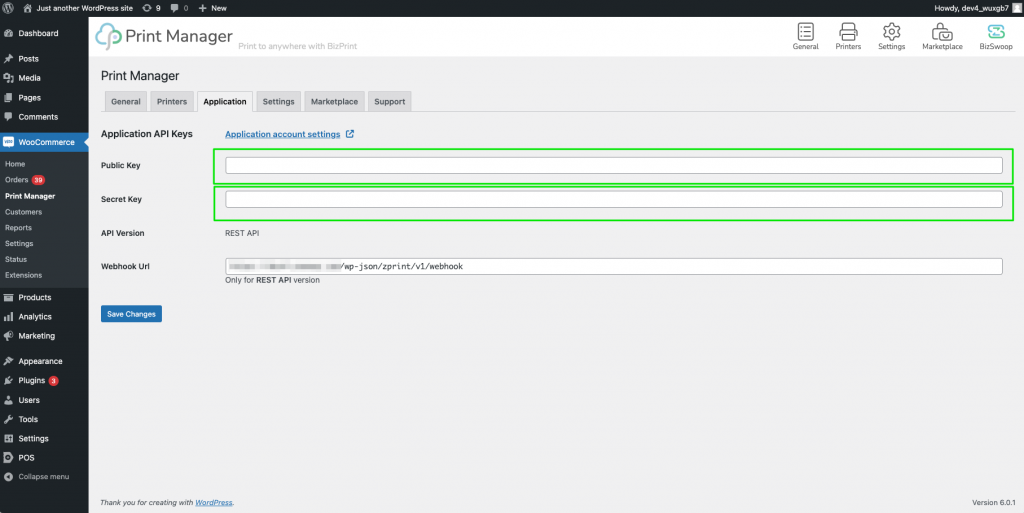
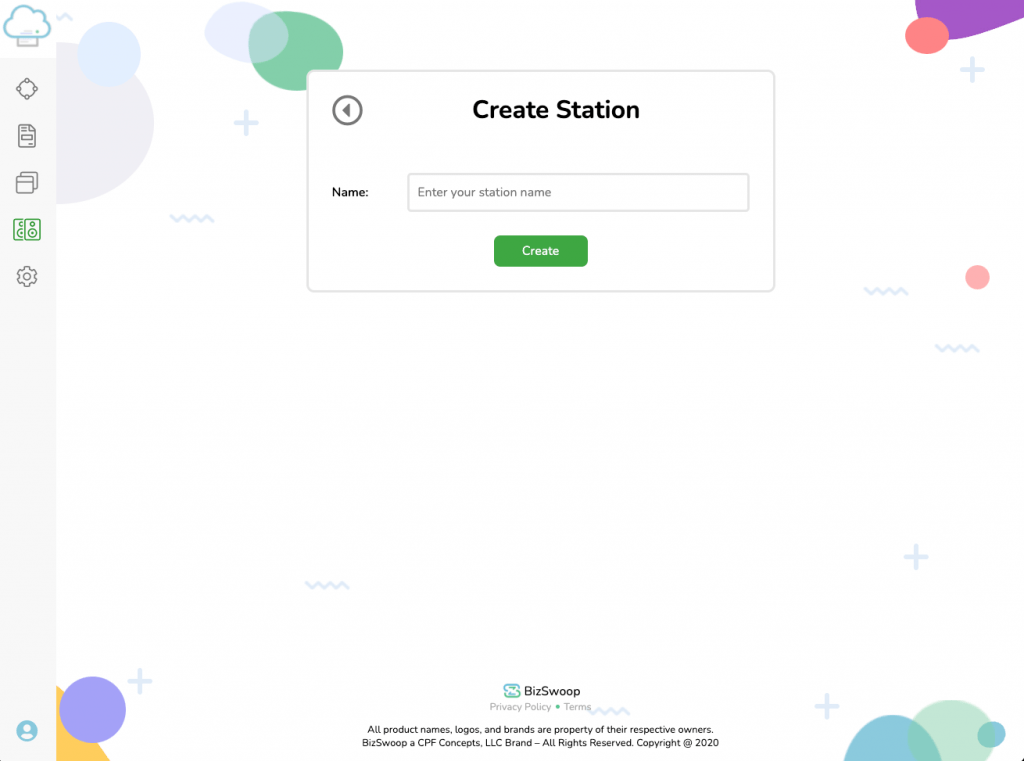
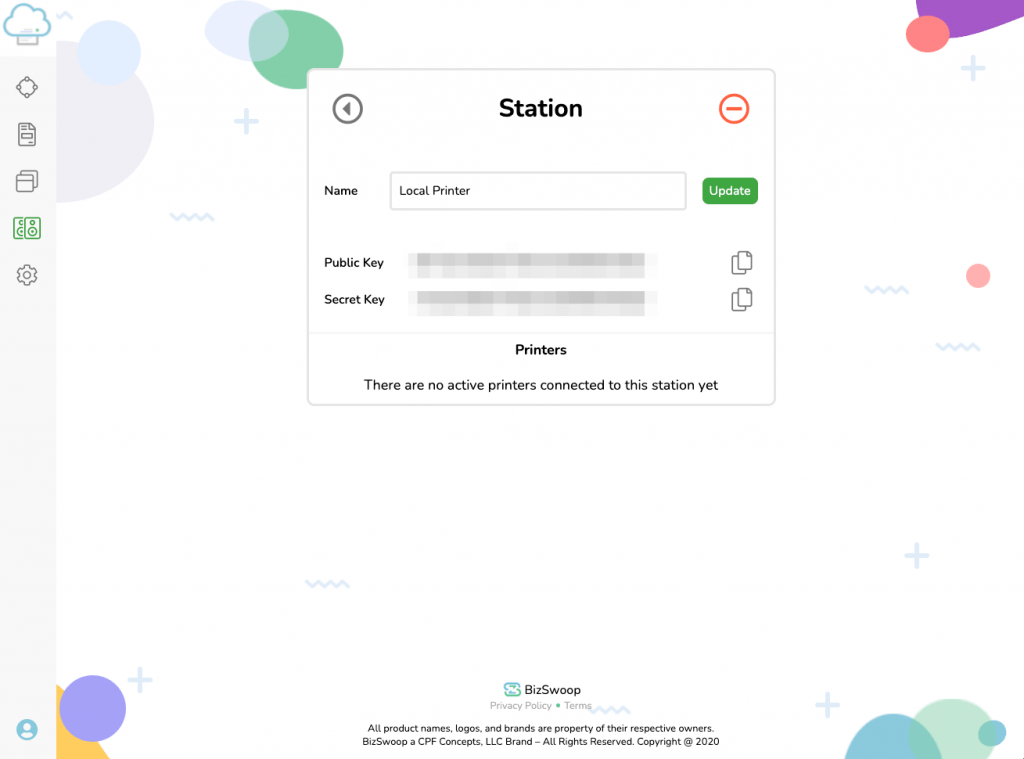
Paste Public and Secret Keys from your new “Station”
Then, click Submit.
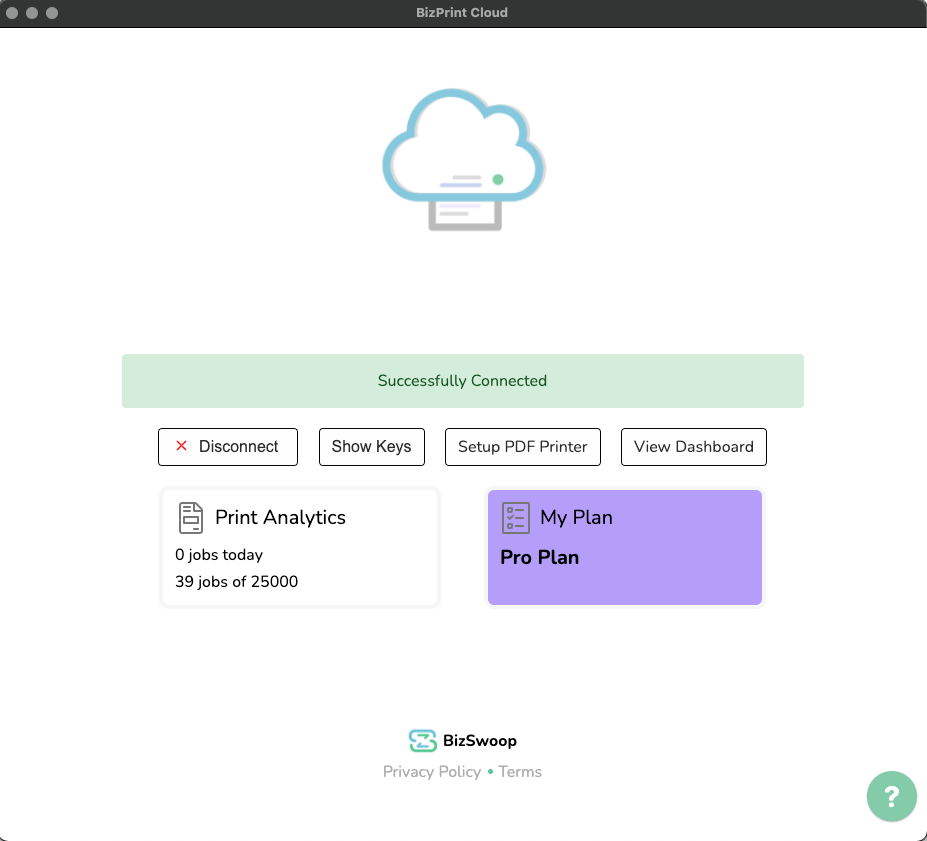
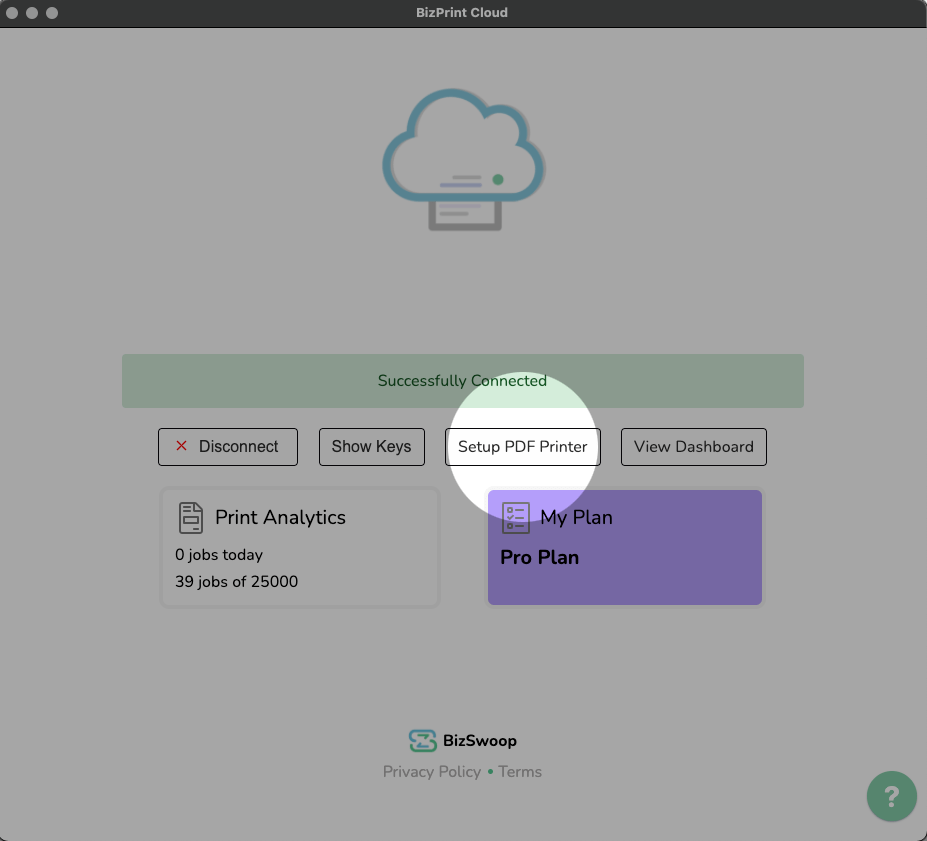
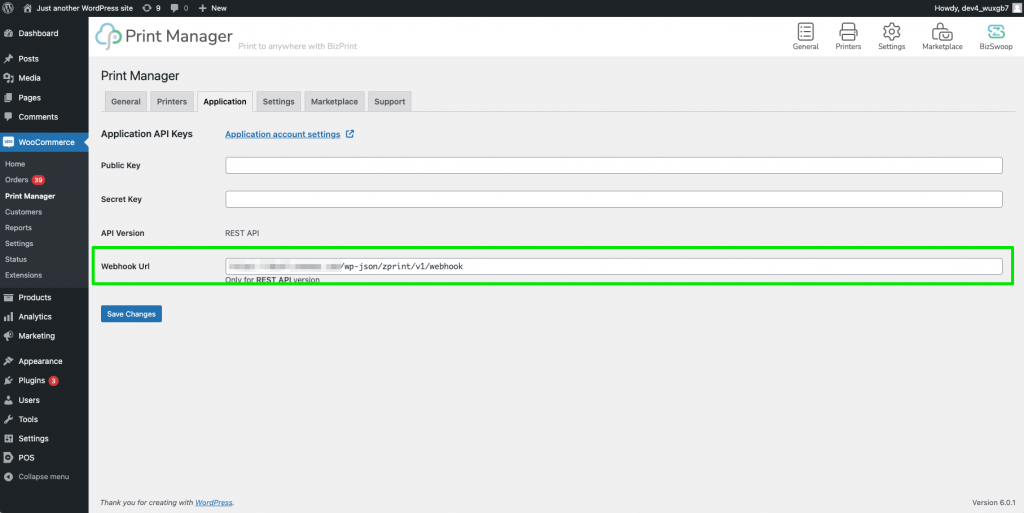
Congrats, you’re connected, way to go!
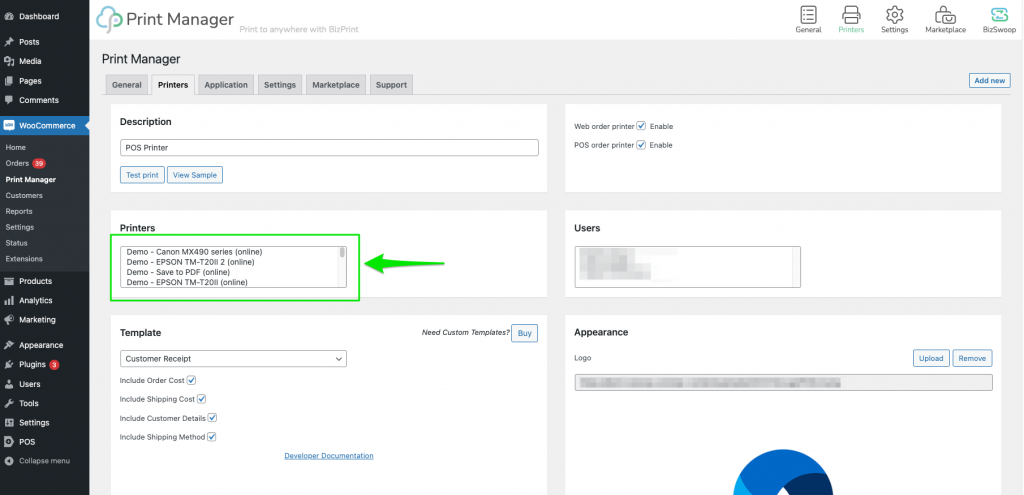
Now your local printers are registered & connected to BizPrint for use.
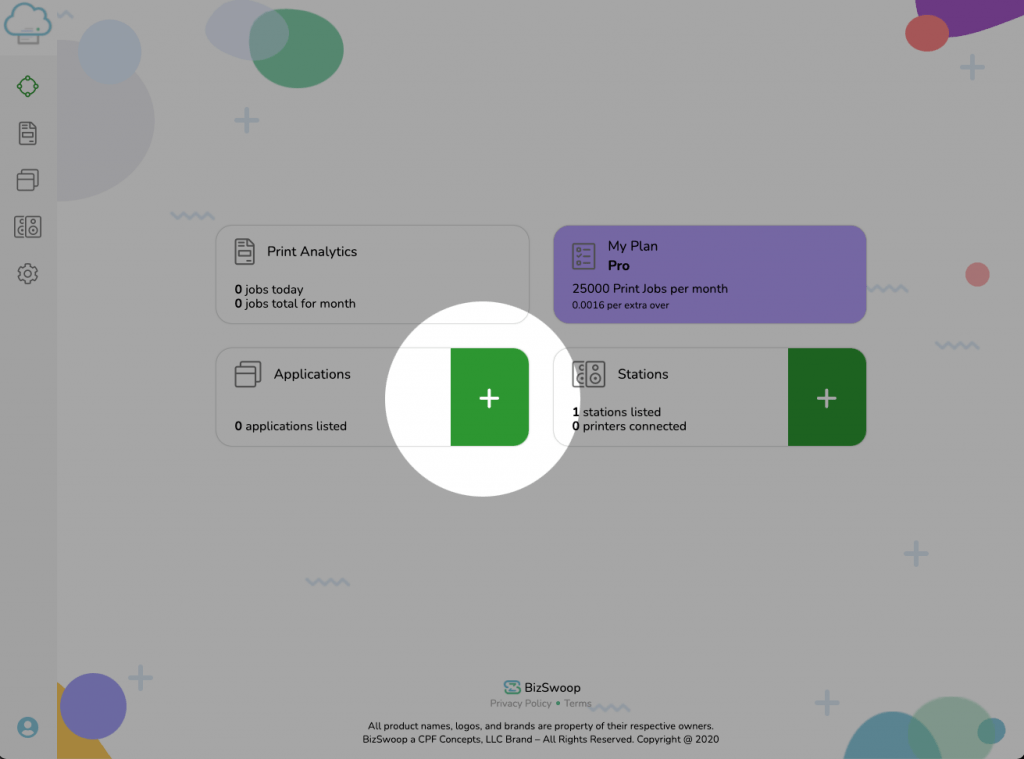
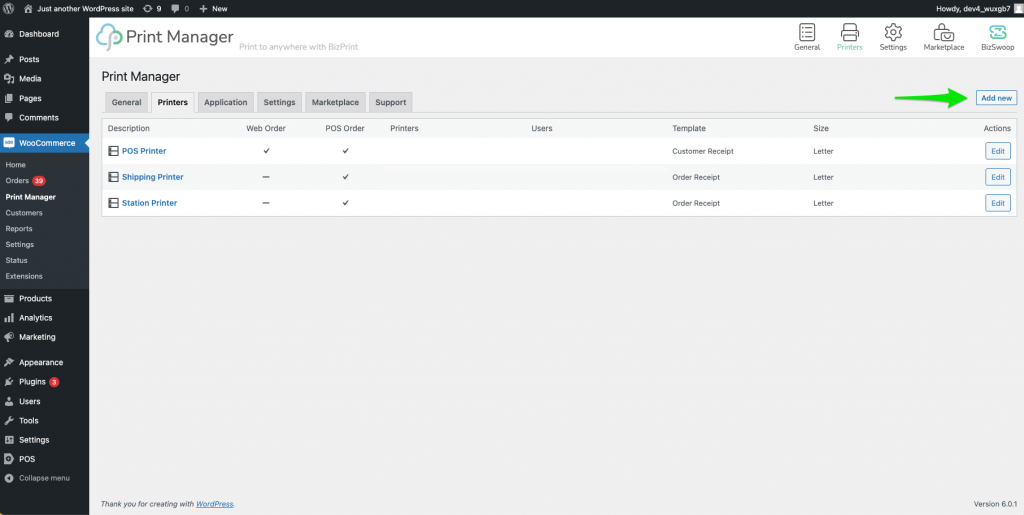
You can view all the printers connected to the BizPrint under the Station you created in the Dashboard.
Important: If automatic printing is not functioning. We recommend you select the specific local printer as the Default Printer in settings for Windows or MacOS printers.
*Network Printers don’t require the Default Printer setting to be assigned.
For Windows: To choose a default printer, select the Start button and then Settings. Go to Devices > Printers & Scanners > Select A Printer > Manage. Then Select Set as default.
For MacOS: To choose a default printer. Select Apple Menu > System Preferences, then click Printers & Scanners. Open Printers & Scanners Preferences. Click the “Default printer” pop-up menu, then choose an option. If you want the same printer to always be the default printer, choose that printer.
Power Mode/Sleep Mode: For printing to occur, the device running the BizPrint Cloud app needs to be online and connected at all times to receive print jobs. We recommend disabling the Sleep/Idle/Nap mode for the device running the BizPrint Cloud app.
*If the device goes into Sleep/Idle/Nap mode print jobs will not occur until the device comes back from the Sleep/Idle/Nap mode. Print jobs received while in Sleep/Idle/Nap mode will automatically be placed in archive status. If you want print jobs to print once the Sleep/Idle/Nap mode ends, disable the Archive print jobs setting under your BizPrint Cloud Dashboard > Settings.
Local PDF Directory: To enable local PDF storage. Once connected to the BizPrint Cloud service, select a local directory to store PDFs. Select the ‘Setup PDF Printer’ button to open file directory and select the location to store PDFs on your device.
STEP 4: Connect Your Website with WordPress Print Manager Plugin
First, Create Application In The BizPrint Dashboard
Create Name and Insert WordPress Website URL
IMPORTANT: For New Users & Best Performance, use the REST API for the API Version
After Application is Created. Copy Public and Secret Keys.
Note: You can copy the WebHook URL after the installation of the WordPress Print Manager plugin. To copy the WebHook URL, after the plugin is installed. Go to WooCommerce > Print Manager. Under the Application tab and selection of the REST API. The WebHook URL will be generated. Copy and paste in the WebHook URL field.
Download Print Manager for WooCommerce
The Print Manager plugin is used to send the print jobs from your WordPress WooCommerce website to BizPrint for printing.
*NOTE: The computer must remain connected to the Internet and local printer in order to receive print jobs.
Select a WordPress Plugin Installation Method
Step 1: Download the Latest Print Manager for WooCommerce Version
Don’t Worry. It’s a Free download!
DOWNLOAD NOWStep 2: Login to WordPress Admin Dashboard
Step 3: Click Plugins Menu Option
Step 4: Click Add New
Step 5: Click Upload Plugin
Step 6: Click Choose File, Select the Downloaded Print Manager for WooCommerce Plugin ZIP File
Step 7: Click Install Now
Step 8: Click Activate
Yay! Print Manager for WooCommerce is Installed.
Paste Keys from BizPrint to WordPress plugin.
Under WooCommerce > Print Manager > Application. Insert Application Public and Secret Keys.
IMPORTANT: For New Users & Best Performance, use the REST API for the API Version
The REST API WebHook needs to be copied and pasted under the Application settings created for the connection between the BizPrint service and WordPress site, when creating the Application.
Click Save Changes, Congrats! Once the API keys are pasted and WebHook URL pasted. Your Website is connected to BizPrint
Congrats, your store just got a major boost in efficiency!
You can now print orders directly from your store to your local printers automatically.
Happy Printing
*All product names, trademarks and registered trademarks are property of their respective owners.